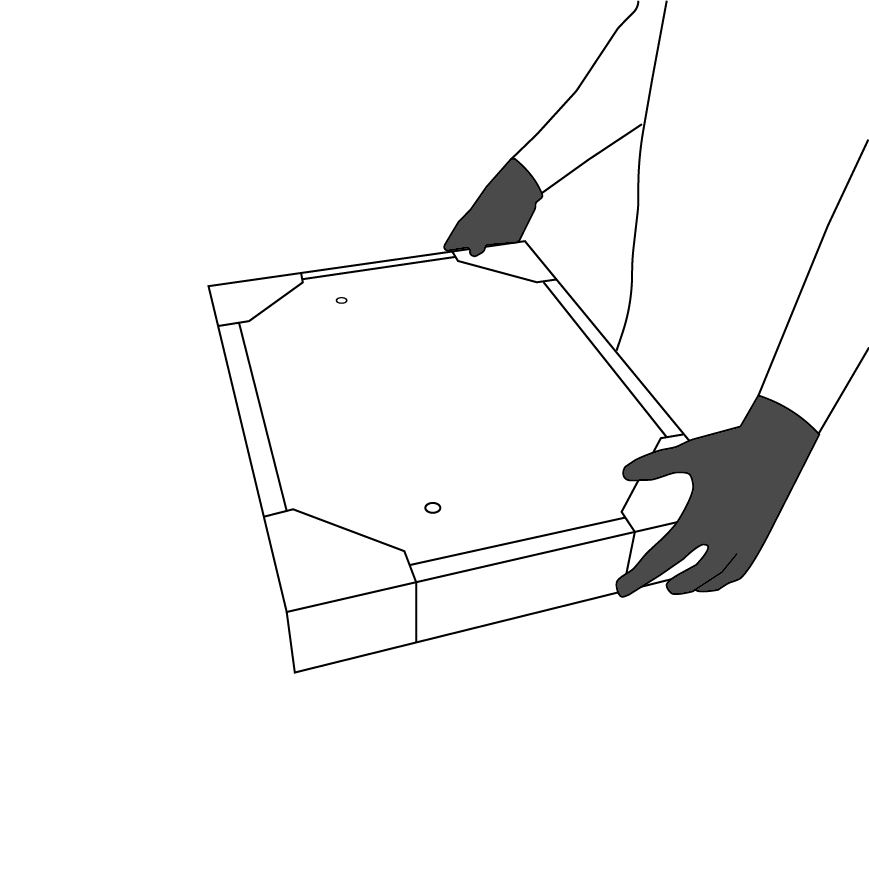
STEP ONE
Your print comes with a life-size cardboard template as part of its packaging. This template, which covers the artwork in the box, serves as a guide for hanging your print. It features two pre-cut holes that align exactly with the hangers on your artwork.
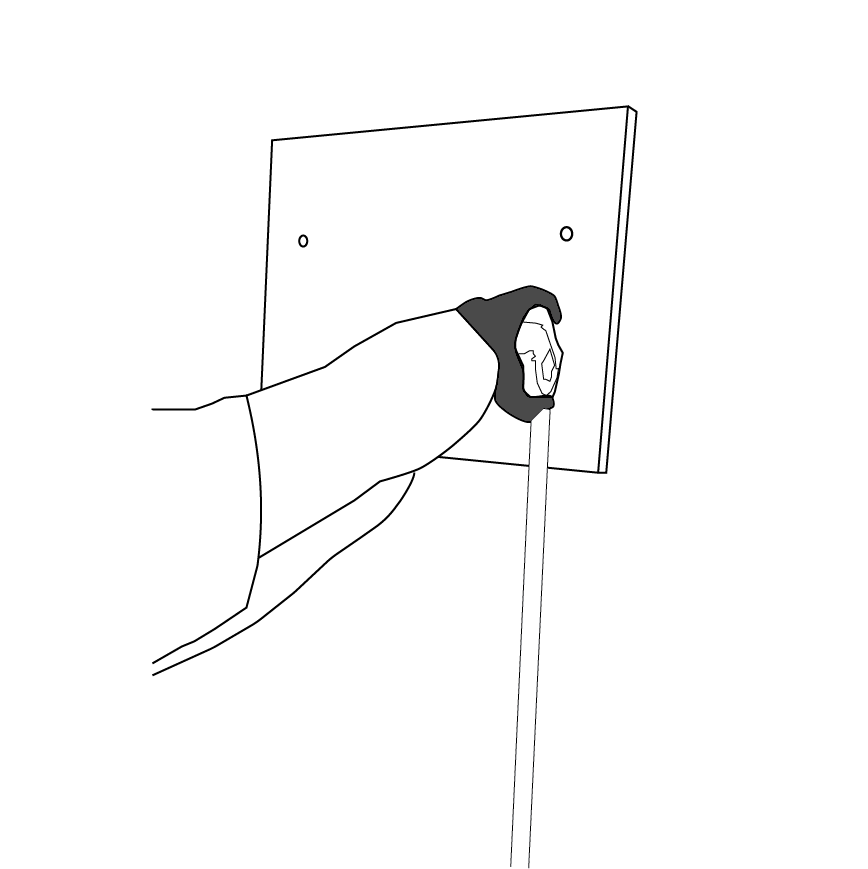
STEP TWO
Position the template on your wall where you want to hang your artwork. To ensure it is level, measure from the floor to each bottom corner of the template, confirming they are the same height. Alternatively, use a level or the level app on your smartphone, taking care with any items you bring near the artwork.
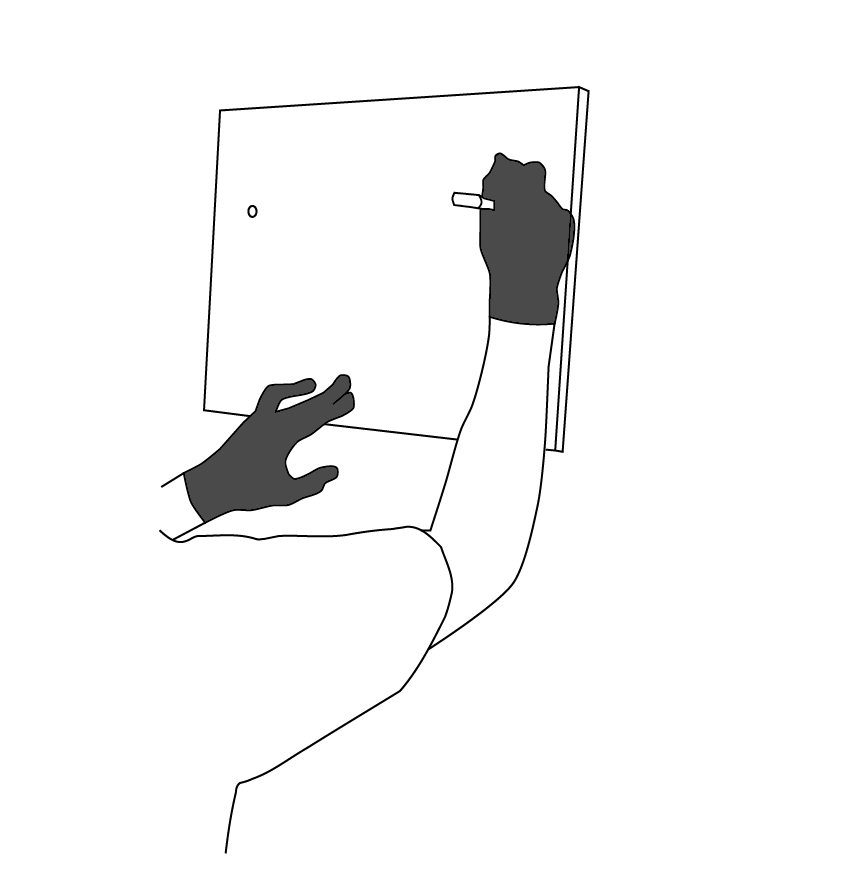
STEP THREE
Mark the wall through the two holes in the template to indicate where to place your screws or nails. Once the holes are marked, remove the template from the wall. Insert screws or nails into the marked spots, leaving 1cm of each exposed. Slowly secure your frame’s fixing to your screws.
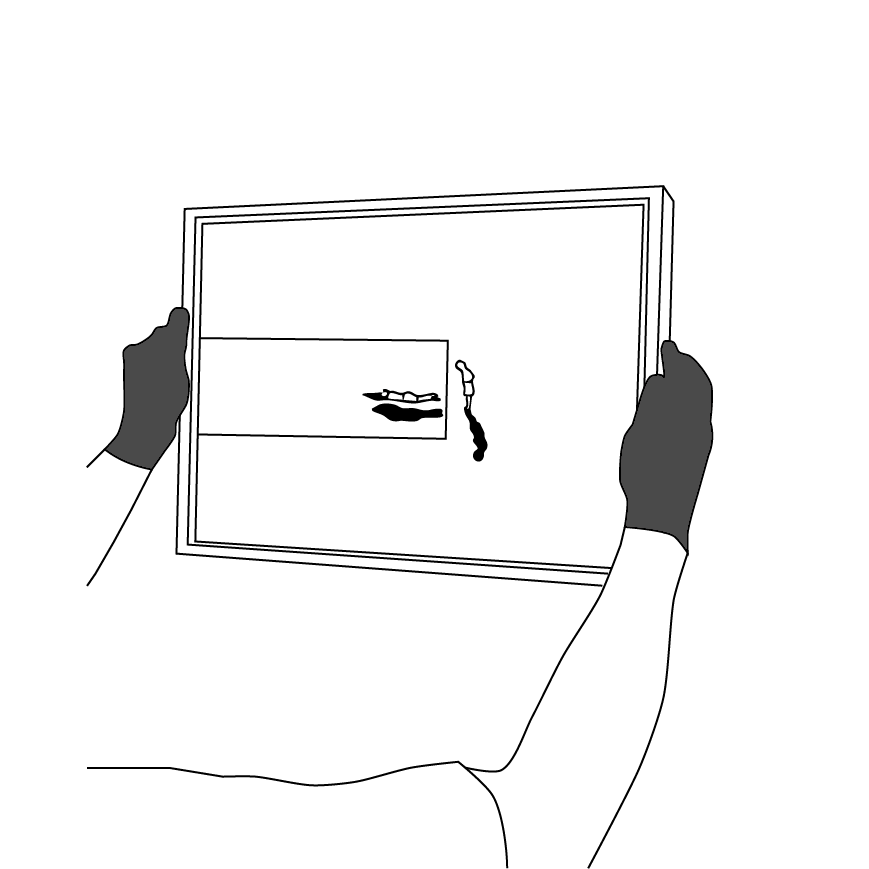
STEP FOUR
Align the hooks on the back of your artwork with the installed screws or nails and carefully hang your print. The large square hangers provide some adjustment room if the screws are slightly off.
